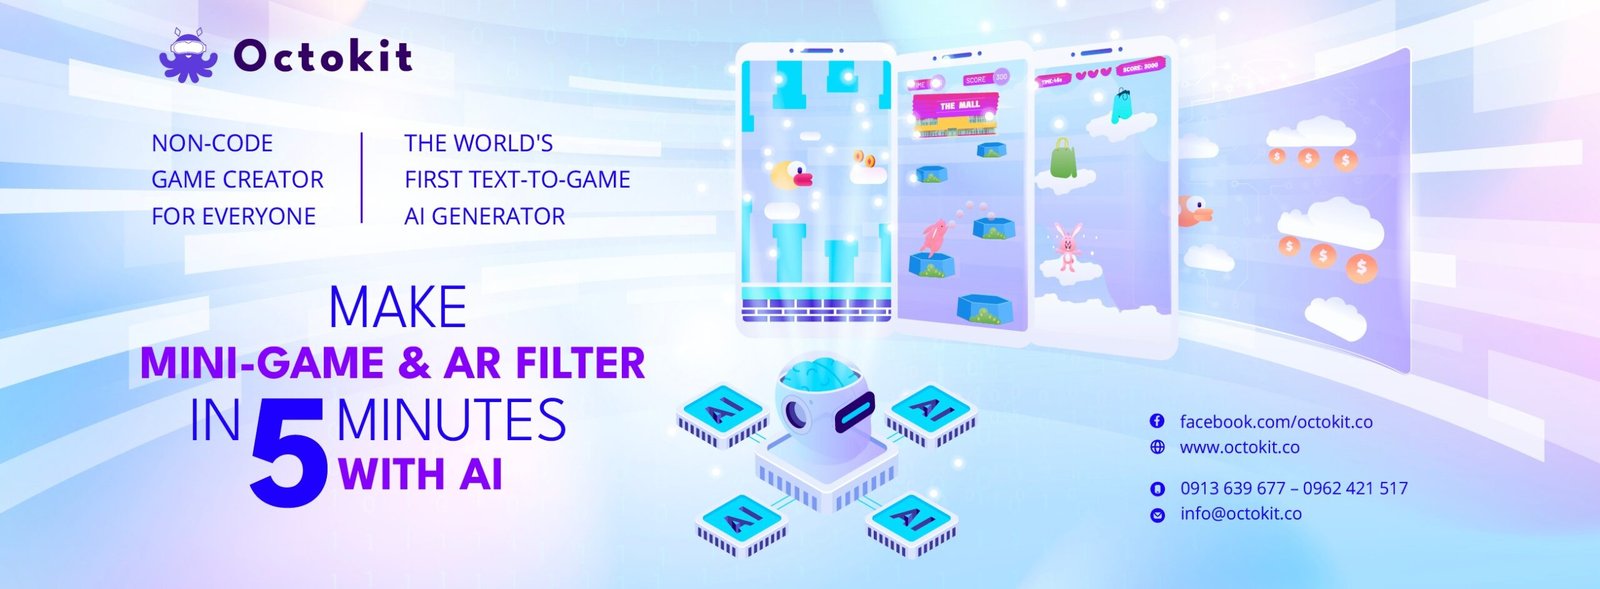

Introduction
Gamification campaigns are often perceived as tasks that require several weeks and a developer. That is only true if you use the wrong tools. With the right process and a suitable tool, a standard marketing team can build and launch a complete campaign—including login, leaderboard, rewards, and analytics—in a single workday.
Timeline Overview
| Time | Phase | Output |
| 9:00 – 10:30 | Phase 1: Brief & Game Design | 1-page Game Design Document |
| 10:30 – 12:00 | Phase 2: Asset Preparation | Ready-to-upload asset folder |
| 13:00 – 15:30 | Phase 3: Build on Octokit | Playable game on the editor |
| 15:30 – 16:30 | Phase 4: Campaign Setup | Configured login, rewards, and leaderboard |
| 16:30 – 17:00 | Phase 5: Test & QA | Game ready to publish |
| 17:00 | Launch | Live campaign |
This should be your ideal gamification campaign’s timeline
Phase-by-Phase Breakdown
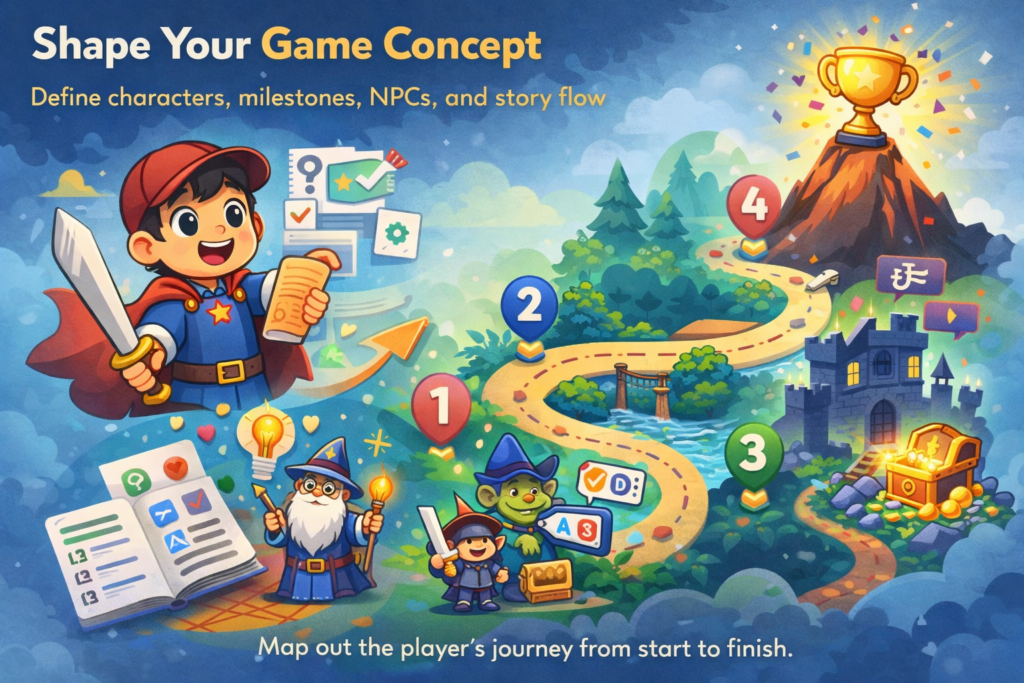
| Phase 1: Brief & Game Design (9:00 – 10:30) |
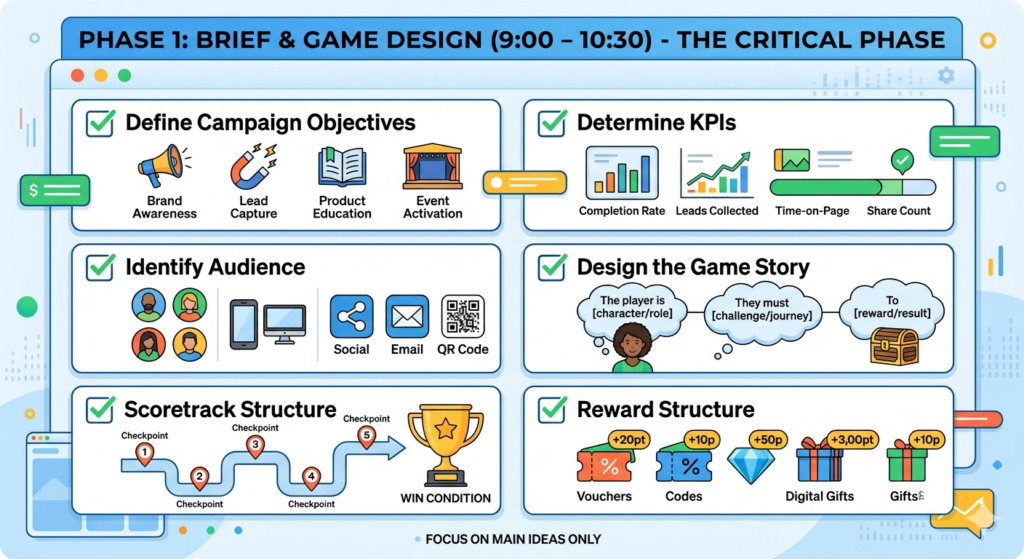
This is the most critical phase.
- Define Campaign Objectives: Identify if the goal is brand awareness, lead capture, product education, or event activation.
- Determine KPIs: Establish metrics such as completion rate, leads collected, time-on-page, or share count.
- Identify Audience: Clarify who the players are, their primary devices (mobile-first or desktop), and which channels they come from (Social, Email, QR code).
- Design the Game Story: Use the 3-sentence template: “The player is [character/role]. They must [challenge/journey]. To [reward/result]”.
- Scoretrack Structure: Recommended 3–5 checkpoints for short campaigns. Define the points needed for each and the final win condition.
- Reward Structure: Define the rewards (Vouchers, codes, digital gifts) and the point thresholds required to earn them.

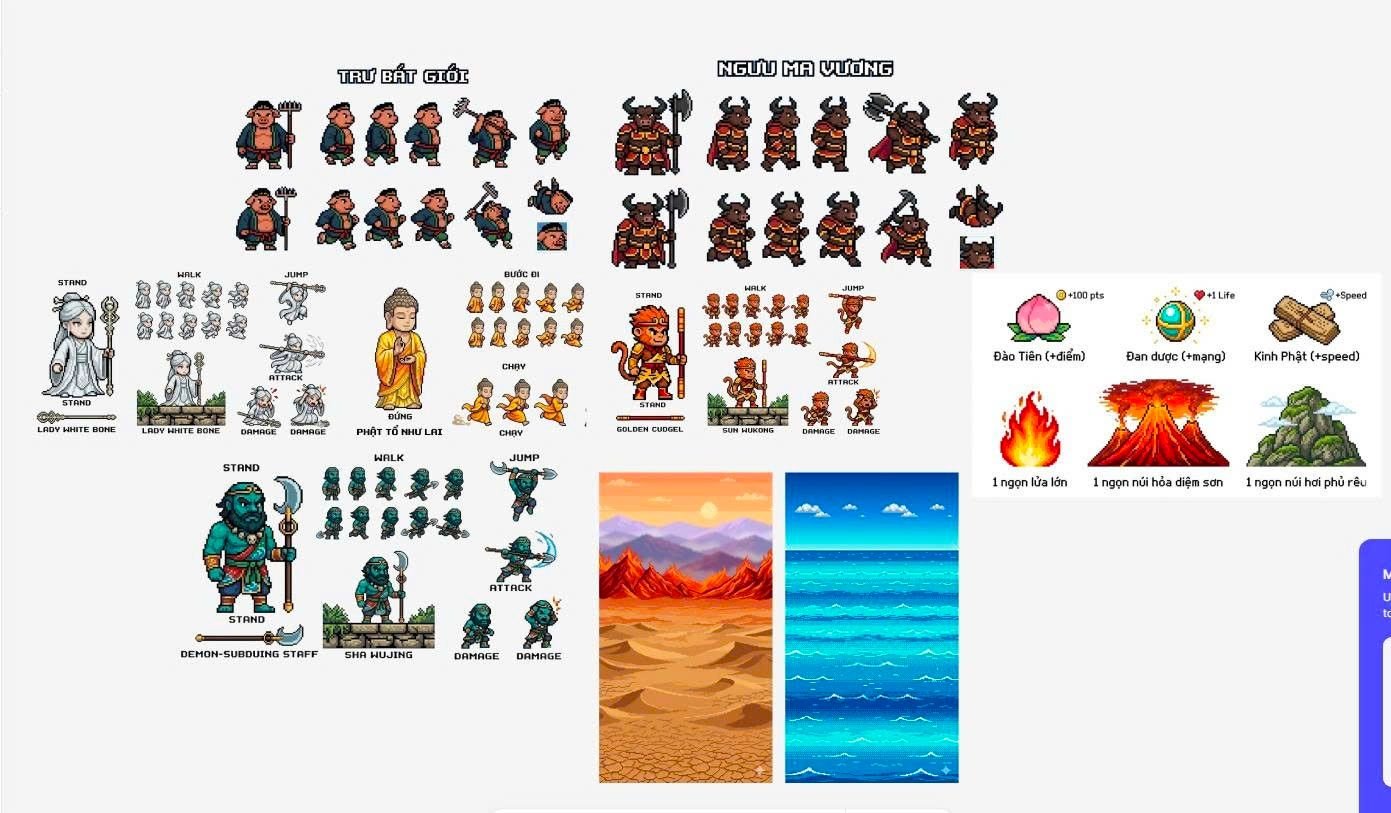
| Phase 2: Asset Preparation (10:30 – 12:00) |
- Visual Assets: Prepare background images (1080 x 1920 pixel for portrait), character sprites (transparent PNG), and brand logos.
- Content Assets: Draft dialogue scripts for encounters and prepare quiz questions (at least 1 per encounter with 4 options each).
- Technical Assets: Export reward codes to a CSV file and gather brand color hex codes.
- Tip: If short on time, use AI tools like Midjourney or DALL-E to generate a usable asset set in 30 minutes.
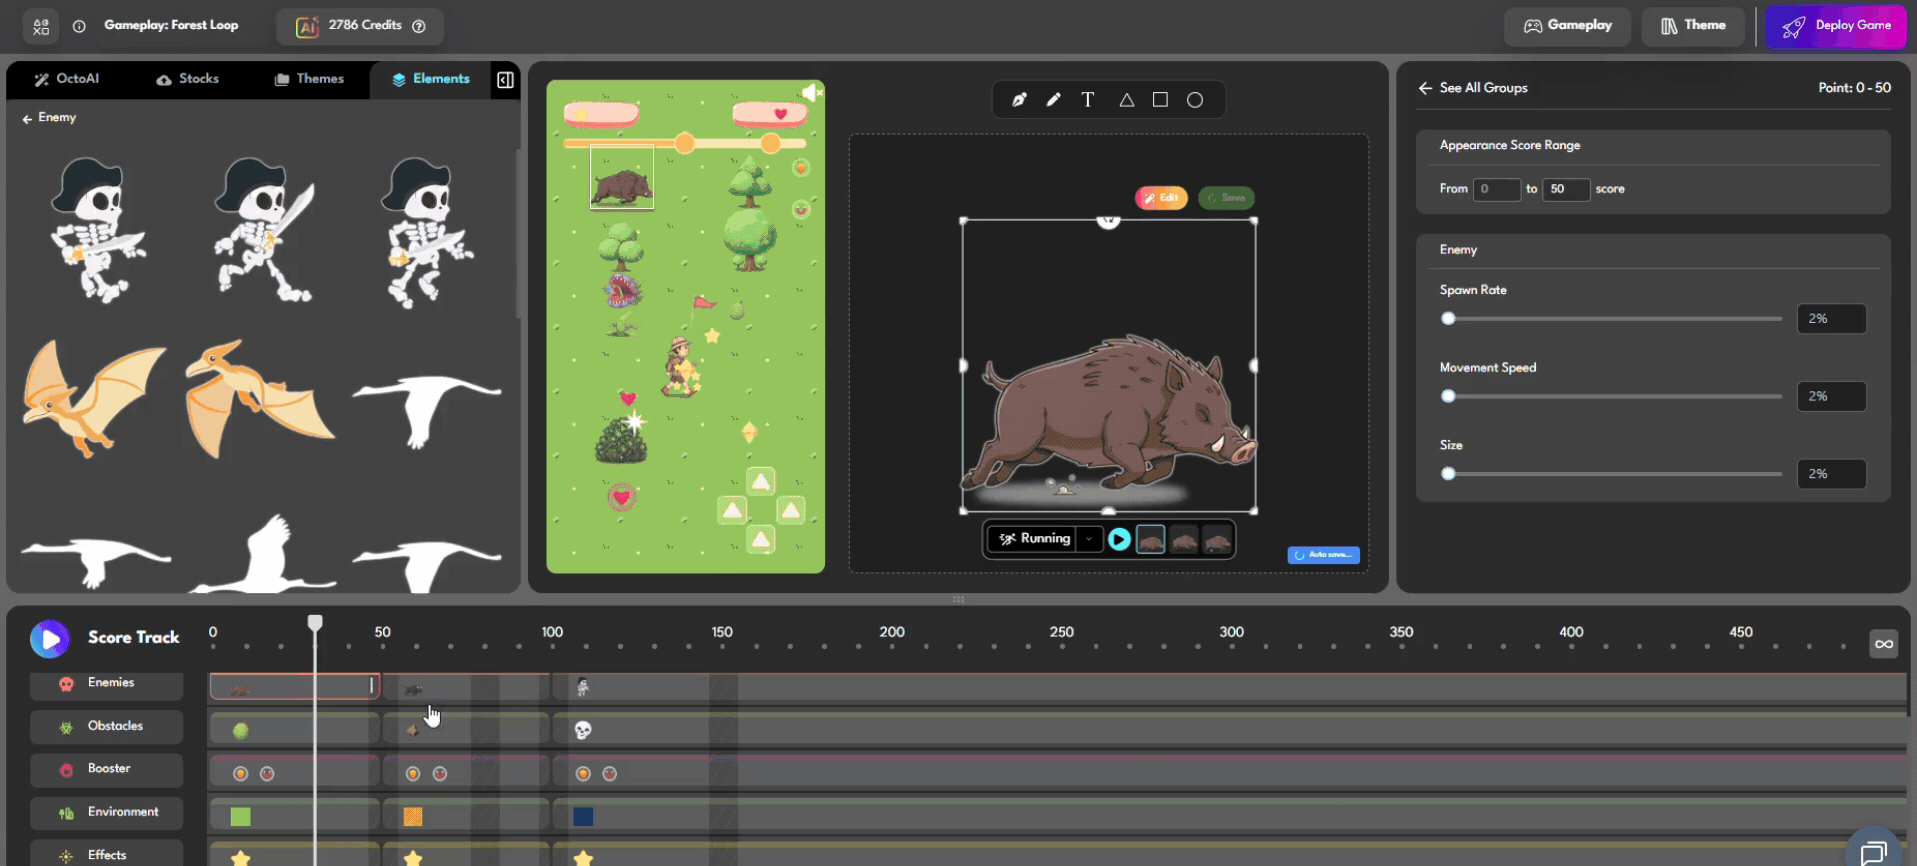
| Phase 3: Build on Octokit (13:00 – 15:30) |
- Game Setup: Create the game in the editor, upload backgrounds/sprites, and configure brand colors.
- Build Scoretrack: Add checkpoints and set the “win condition” points.
- Build Encounters: For each checkpoint, add an NPC trigger and create a slide sequence
- Tip: Use AI text-to-game features to generate the initial structure from a prompt to save time.
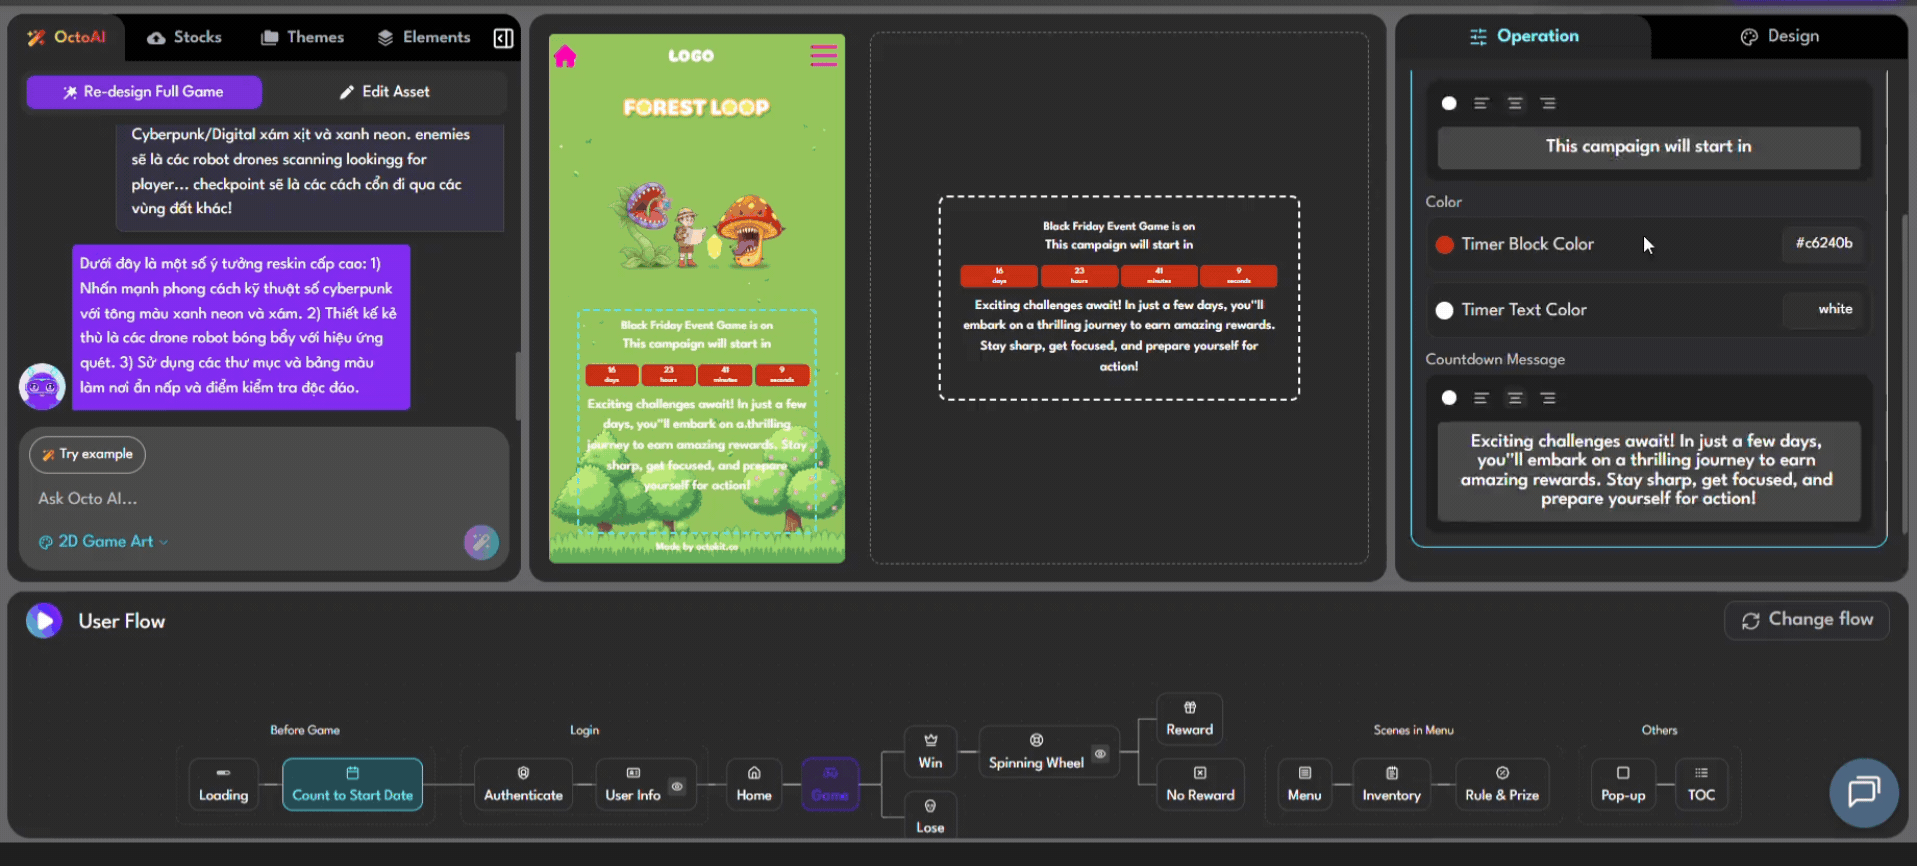
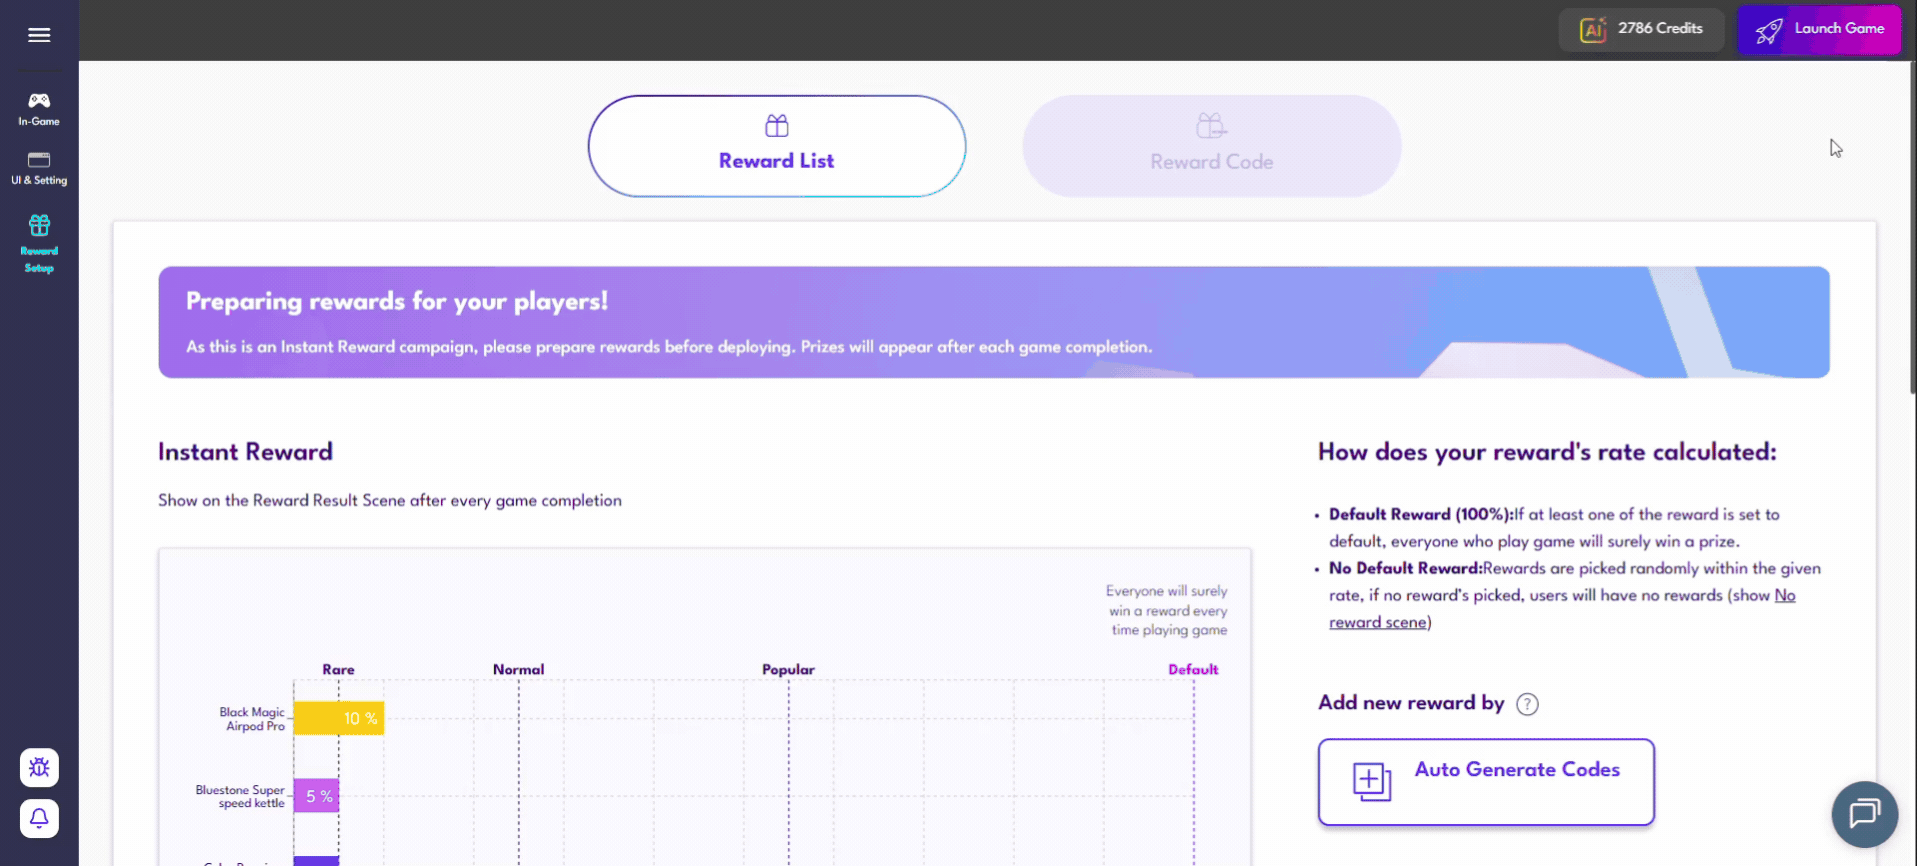
| Phase 4: Campaign Setup (15:30 – 16:30) |
- Player Login: Enable login methods like Phone (OTP) or Email. Octokit integrates with Vietnamese SMS gateways.
- Leaderboard: Enable the leaderboard, set the display name, and configure reset cycles (Daily, Weekly, or End of Campaign).
- Reward Distribution: Upload the CSV code list and set triggers based on player scores.
- End Screen: Add a final message and CTA buttons like “Share results” or “Receive gift”.
| Phase 5: Test, Schedule & QA (16:30 – 17:00) |
- Playthrough: Test from start to finish on mobile and desktop browsers.
- Edge Cases: Test “wrong answer” flows, “out of lives” scenarios, and end-to-end OTP/Reward delivery.
- Visual QA: Ensure text does not overflow and images load quickly (keep files under 2MB to avoid lag on 3G/4G).
- Schedule Game Durations: Set up Start and Count Date before purchasing and make your game go live.
Post-Launch Monitoring (First 24 Hours)
If the completion rate is lower than 30%, check the analytics for drop-off points. A checkpoint may be too difficult or an encounter too long. It is recommended to keep encounters between 4–6 slides to maintain mobile user patience.
| Want to give your game a try with Octokit?
Just Click Here |