
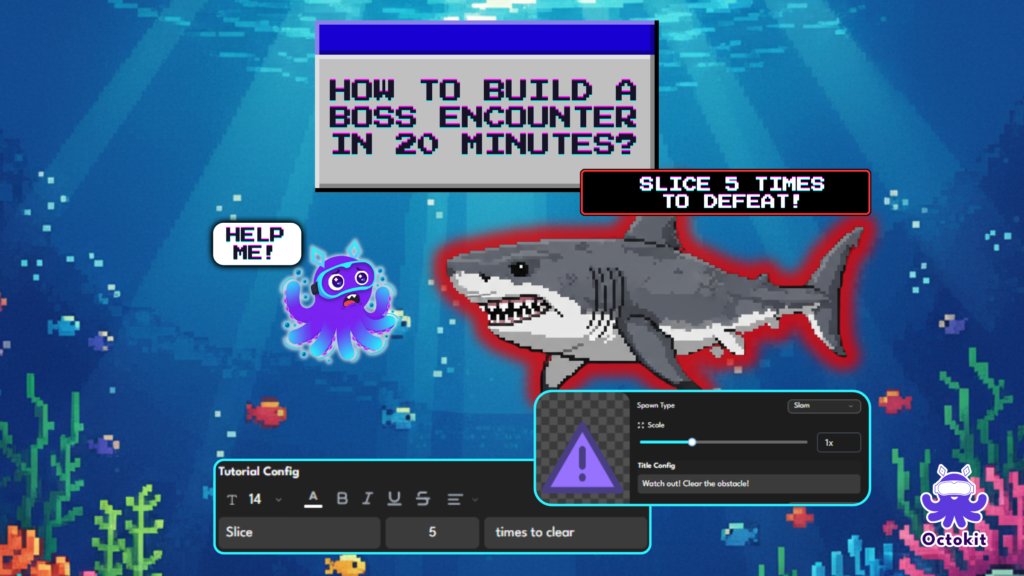
Introduction
One of the most satisfying moments in any story game is a well-designed encounter — a moment where the player faces something, does something, and comes out the other side having experienced a complete beat of the story.
In most game engines, building this kind of moment requires scripting, state management, and at minimum a few hours of setup.
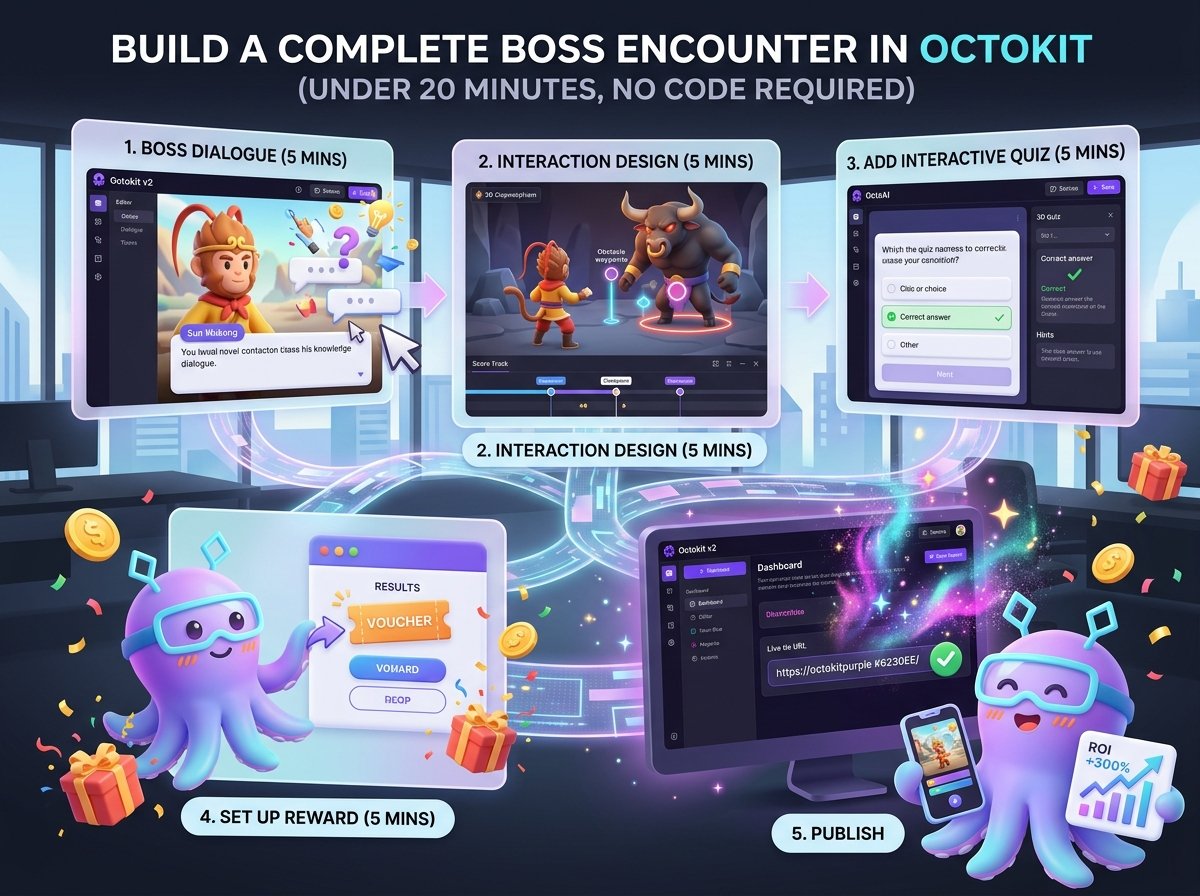
In Octokit, you can build a complete multi-stage encounter — with character dialogue, an interactive challenge, a quiz, and a reward — in about 20 minutes.
Here’s exactly how.
What We’re Building
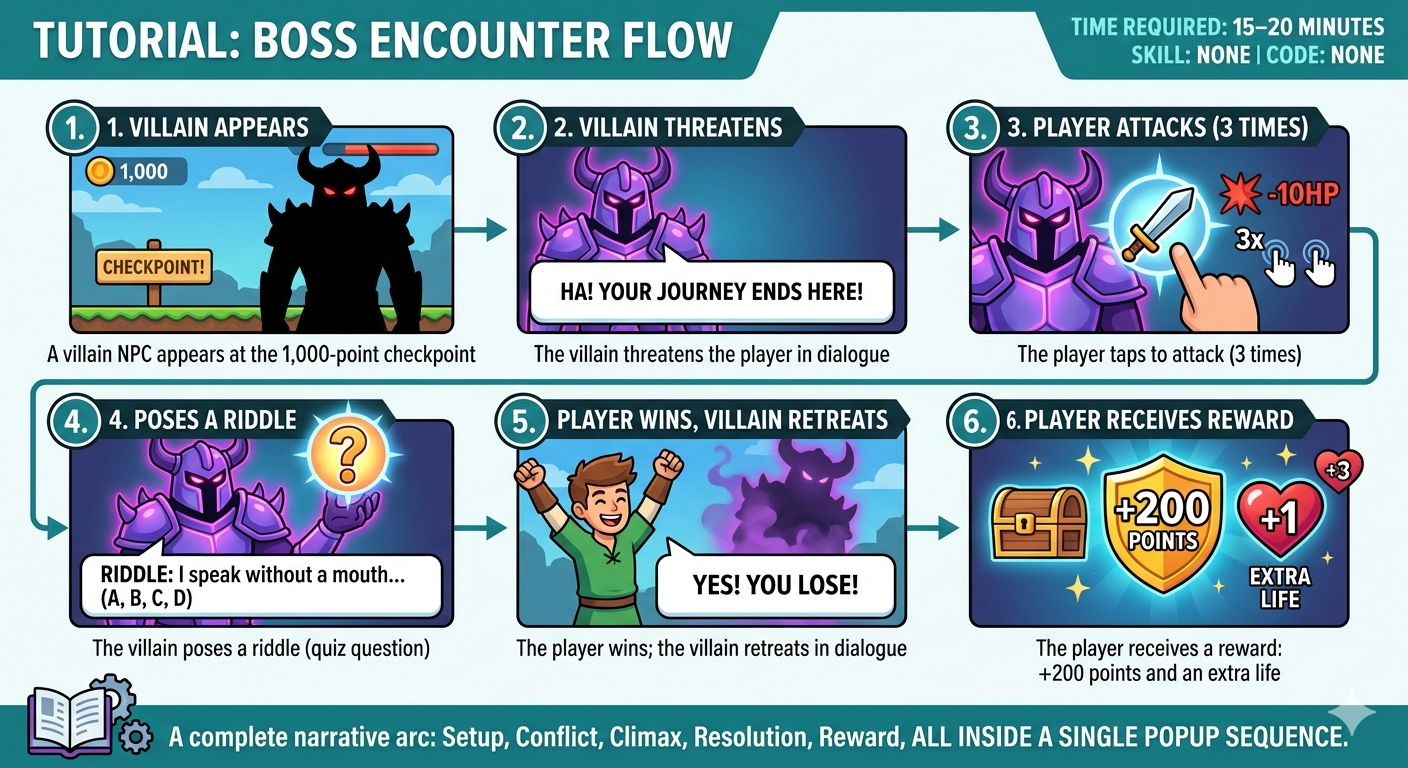
By the end of this tutorial, you’ll have a boss encounter that works like this:
- A villain NPC appears at the 1,000-point checkpoint
- The villain threatens the player in dialogue
- The player taps to attack (3 times)
- The villain poses a riddle (quiz question)
- The player wins; the villain retreats in dialogue
- The player receives a reward: +200 points and an extra life
This is a complete narrative arc — setup, conflict, climax, resolution, reward — and it fits inside a single popup sequence.
| Time required: 15–20 minutes Skill required: None Code required: None |
Before You Start
You’ll need:
|
Step 1: Add a Checkpoint at 980 Points (2 minutes)
What is a checkpoint?A checkpoint is a milestone on your score track — a marker that says “when the player reaches this score, something happens.” Octokit’s score track runs left to right, with score increasing as the player progresses. |
How to do it:
- Open your game in the Octokit editor
- In the Scoretrack view, click + Add Checkpoint
- Set the score value to 980 (or your score choice)
- Add something “scary” and “remarkable” that should be the sign about the encounter.
- Click Save
Your scoretrack now has a marker at the 980-point mark – this will be the initial mark for player that scream “Something is about to happen!” Nothing happens there yet — we’ll attach the villain NPC next.
Just drag the keypad to the right to find your desired milestone, then left-click to add a checkpoint. After that, you can proceed to customize the checkpoint UI
Adding a villain’s companion might be the perfect place to start
Step 2: Place an NPC at the Checkpoint (3 minutes)
What is a trigger?A trigger is an NPC, item, or obstacle that appears on screen at a checkpoint. When the player’s character reaches and interacts with the trigger, the popup opens. |
How to do it:
- With your 1,000-point checkpoint selected, click + Add Trigger
- Choose Object-Reached as the trigger type
- Upload or select your villain character sprite
- Adjust your villain’s elements, including its scale, on-screen position, narrative, and even the warning sign that appears before it shows up.
- Click Save
Now your villain will appear on screen when the player reaches 1,000 points.
Creating this kind of trigger will make your gamification stand out from the rest — without requiring extra effort
Step 3: Build the Popup Sequence (10 minutes)
This is where the encounter comes alive. A popup in Octokit is a sequence of slides — you build the encounter beat by beat.
On the Right Panel, Select Activities Panel, then add slides in this order:
Slide 1 — Dialogue: The Villain Appears (instruction will show you the types of triggers on the left panel)
Slide type: Character Dialogue
Character: Evil Captain Ghoul (use your villain sprite)
Text:
“So. You’ve made it this far. Impressive — for a mortal. But your journey ends here.”
Settings:
- Character position: Right
- Text animation: Fade in
- Tap to advance: On
This slide sets up the encounter. The villain speaks, the player reads, taps to continue.
Slide 2 — Interaction: The Player Attacks
Slide type: Interaction
Instruction text: “Attack! Tap the villain 3 times to fight back.”
Interaction type: Tap target Target: Villain character sprite Required taps: 3 Feedback: Brief shake animation on each tap
This slide gives the player agency — they’re not just reading, they’re doing something. The interaction requirement (3 taps) creates just enough friction to feel like effort without being frustrating.
Slide 3 — Dialogue: The Villain Counters
Slide type: Dialogue
Character: Shadow Demon
Text:
“Ha! Brute strength alone won’t defeat me. If you want to pass… you’ll need to prove your mind is as sharp as your blade. Answer my riddle.”
This slide transitions the encounter from combat to challenge. The villain’s dialogue explains what’s coming next — the quiz.
Slide 4 — Quiz: The Riddle
Slide type: Quiz
Question: “I speak without a mouth and hear without ears. I have no body, but come alive with the wind. What am I?”
Options:
- A) A shadow
- B) An echo ✅ (correct)
- C) A ghost
- D) A dream
Settings:
- Correct answer: B
- On correct: Advance to next slide
- On incorrect: Show hint “Think about what travels without a body…” then retry
This is the climax of the encounter. The player must think, not just tap. For branded campaigns, this is where you’d insert a product knowledge question instead of a riddle.
Slide 5 — Dialogue: The Villain Retreats
Slide type: Dialogue
Character: Shadow Demon
Text:
“…Impressive. You’re more than I expected. But don’t celebrate yet — we’ll meet again.”
Resolution. The villain acknowledges defeat without fully submitting. Leaves story threads open for future encounters.

Slide 6 — Reward: Player Earns Points and a Life
Slide type: Reward
Reward type: Score + Life
Points to add: 200
Lives to add: 1
Reward message: “You defeated the Shadow Demon! +200 points and an extra life earned.”
This is the payoff. The player walked through dialogue, combat, a mental challenge, and resolution — now they receive something tangible.
Step 4: Preview and Test (3 minutes)
- Click Preview in the top right of the editor
- Play through your game until you reach 1,000 points (use the score slider in preview mode to jump there quickly)
- Check each slide:
- Does the dialogue feel right? Edit text directly in preview mode.
- Does the interaction work? Tap the villain 3 times.
- Does the quiz trigger correctly? Test both right and wrong answers.
- Does the reward display as expected?
- Click Save when satisfied
What You Just Built
Let’s look at what this encounter achieves:
| Slide | Type | Function |
| 1 | Dialogue | Introduces stakes, establishes character voice |
| 2 | Interaction | Gives player agency, creates physical engagement |
| 3 | Dialogue | Transitions conflict, builds toward mental challenge |
| 4 | Quiz | Climax — tests player knowledge |
| 5 | Dialogue | Resolution — closes the arc |
| 6 | Reward | Payoff — makes effort feel worthwhile |
This is a complete dramatic structure inside a single popup. And it took 20 minutes.
Going Further: Variations for Different Use Cases
- For brand campaigns
Replace the riddle (Slide 4) with a product knowledge question: “Which of our three new flavors launched this month?” This turns a fun encounter into a brand education moment. - For educational games
Make the entire popup a learning encounter: the character is a teacher or mentor, the “attack” interaction is a simple warm-up activity, and the quiz tests genuine lesson content. - For onboarding experiences
Use a colleague or guide character instead of a villain. The “challenge” becomes a skill check: “Before you move on, let’s make sure you understand our return policy…” - For events and activations
Add a form slide before the reward to capture player information: “You’ve earned a prize! Enter your name and email to claim it.”
FAQ

‣ Can I have multiple boss encounters in one game?
Yes. Add a checkpoint at any score value on the scoretrack and attach a trigger with a popup. You can have as many encounters as your game needs.
‣ Can the villain appear in more than one encounter?
Yes. Use the same villain character sprite on multiple triggers throughout the scoretrack. The character can show up at different moments with different dialogue.
‣ Can I add music or sound effects to the encounter?
Octokit supports background audio at the game level. Per-slide audio for specific encounter moments is on the roadmap. However, this feature is still on the way!
‣ How do I publish this game so players can access it?
After saving, click Publish in the editor. You’ll get a URL you can share directly or embed as an iframe on any webpage.
Build Your First Encounter
Start for free at octokit.co →Your first game is free. No developer required. |